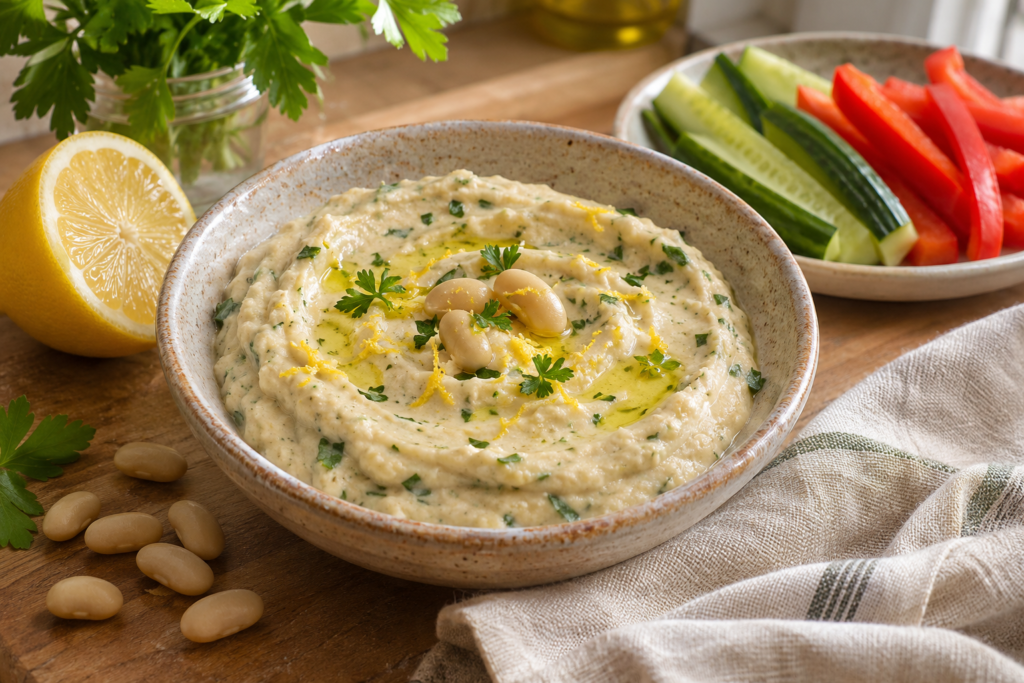
White bean dip without tahini starts with cooked white beans, lemon, olive oil and a little water. Blend them for a smooth dip, or mash them with a fork for a chunkier spread. Tahini is not needed to hold the mixture together.
This small batch is designed around one can of beans, which makes it easier to prepare a modest snack or sandwich filling. Start with a little lemon and garlic. You can always add more after tasting, but taking them out is another matter.
Recipe status: This is an original, untested recipe proposal. It has not been independently kitchen-tested. Preparation time and yield are estimates, and the texture may vary with the beans and equipment.
Ingredients for a small batch
- 1 can cooked cannellini beans, about 15 ounces or 400–425 g before draining; aim for about 240 g drained beans
- 1 tablespoon olive oil
- 1 tablespoon lemon juice, plus more to taste
- ½ teaspoon finely grated lemon zest, optional
- ½ small garlic clove, finely grated, or omit for a milder dip
- 1 tablespoon cold drinking water, plus more as needed
- ⅛ teaspoon fine salt to start, optional if your beans are already salty
- A small pinch of ground black pepper
- 1 tablespoon finely chopped parsley
Estimated preparation: 10–15 minutes. Cooking: none when using canned cooked beans. Estimated yield: roughly 1–1¼ cups, depending on added water, enough for about four small snack portions.
Can sizes and drained weights differ. The weight to focus on is the beans after draining, not the number on the unopened can. If you have a noticeably larger quantity, increase the other ingredients gradually after tasting.
Choose beans that are already fully cooked
Cannellini beans give this dip a mild base. Cooked Great Northern beans can also work; expect some difference in thickness and how easily the skins break down. Drain and rinse canned beans, then let excess water drip away so you control the dip’s consistency.
Do not add dry or merely soaked beans to this no-cook method. If using home-cooked beans, they must already be fully cooked and tender, with a safe cooking method appropriate to the bean variety. The quantities here refer to cooked, drained beans.
How to make the dip
- Prepare the flavourings. Wash the lemon and parsley, zest the lemon if using, and grate the garlic finely. Large raw garlic pieces can leave an unexpectedly strong bite.
- Start with the base. Put the drained beans, olive oil, lemon juice, garlic, salt, pepper and 1 tablespoon water in a small food processor.
- Blend and scrape. Process until the mixture comes together. Stop the machine before scraping the sides, then blend again. A very large processor bowl may struggle to catch a single-can batch.
- Adjust the thickness. Add water 1 teaspoon at a time, blending between additions. Stop when a spoonful holds a soft mound but spreads easily. Use less water for sandwich filling.
- Taste before adding more lemon. If it tastes dull, try a little extra lemon or a small pinch of salt. If it is already sharp, leave the lemon alone. Stir in the parsley and optional zest at the end.
- Serve or refrigerate. Transfer the portion you need to a small bowl and refrigerate the rest promptly in a covered container.
No food processor? Use a fork
Place the beans in a wide, shallow bowl and mash firmly with a fork or potato masher. Add the oil, lemon, finely grated garlic and seasonings, then work in the water a teaspoon at a time. Stir in the herbs once the spread is as even as you can make it.
Expect small pieces of bean skin and a rustic texture. That is fine for toast or wraps. Do not keep adding liquid in pursuit of a silky result that a fork cannot produce.
Adjust flavour and texture without starting over
Too thick: Stir or blend in a teaspoon of water. Check again before adding the next. Cold dip can feel firmer than it did just after blending.
Too thin: Blend in more drained cooked beans, if available. Chilling may firm it somewhat, but do not rely on the refrigerator to turn a watery mixture into a thick spread.
Too sharp or too garlicky: Add more plain cooked beans to dilute the flavour, then reassess the consistency. Extra water alone can leave you with a thin dip that is still harsh.
Grainier than you want: Scrape down the processor and blend again. The beans need to be fully tender before blending; the machine cannot compensate for undercooked beans.
Make it ahead without losing the texture
If preparing the dip for later, leave it a little thicker than a pouring sauce. Refrigerate it promptly, then stir before serving and adjust only the portion you need with a teaspoon of water. Keep a clean spoon in the serving bowl rather than dipping used utensils into the storage container.
For a lunchbox, pack the dip separately from bread or crackers. Use an insulated bag with cold packs to keep it chilled; a sealed tub alone does not keep food cold. The serving and storage limits below still apply.
Simple variations
For a smoky version, try a small pinch of smoked paprika. For a greener dip, replace some parsley with finely chopped dill. Add either gradually, taste, and keep the lemon balance in mind.
The base contains no tahini, dairy or nuts. That is an ingredient description, not an allergy-safety guarantee. If cooking for someone with an allergy, check every package and avoid cross-contact on utensils, boards and serving dishes. Pita and crackers need their own label checks.
What to serve with white bean dip
Spoon it onto toast, spread it in a vegetable sandwich, or serve it with washed cucumber and pepper strips. Keep the dip fairly thick for a packed sandwich so it does not soak into the bread.
If you want a chickpea-based option without added oil, explore Fnbbuzz’s oil-free hummus; that recipe contains tahini, so it is not a sesame-free alternative. For a contrasting flavour on a shared platter, the cashew and sun-dried tomato spread offers another direction, but contains nuts and is unsuitable for a nut-free platter.
How long does homemade white bean dip keep?
Refrigerate promptly in a clean, covered container at 40°F (4°C) or below and use within 3–4 days, following USDA guidance for leftovers. This is general handling guidance, not laboratory validation of this exact recipe’s shelf life. If the cooked beans were already refrigerated before making the dip, blending them does not restart their storage clock.
Serve a small bowl and keep the remaining dip chilled. Discard dip left out for more than 2 hours, or 1 hour when the temperature exceeds 90°F (32°C). Purdue Extension’s leftover guidance also advises against tasting food to check whether it is safe. Lemon juice does not make this dip shelf-stable.
Common questions
Is white bean dip the same as hummus?
This version uses white beans and leaves out tahini. Calling it white bean dip makes the ingredients clearer and keeps it distinct from a chickpea hummus recipe.
Can I leave out the garlic?
Yes. Keep the lemon and herbs, then taste before deciding whether it needs a little more seasoning. The dip does not need garlic for its texture.
Can I use it as a sauce?
Thin only the portion you need with water, a teaspoon at a time. The result will be a bean-based sauce rather than an oil-and-vinegar dressing. Keep it refrigerated under the same storage guidance.
Featured image: AI-generated serving illustration, not a photograph of a tested recipe.